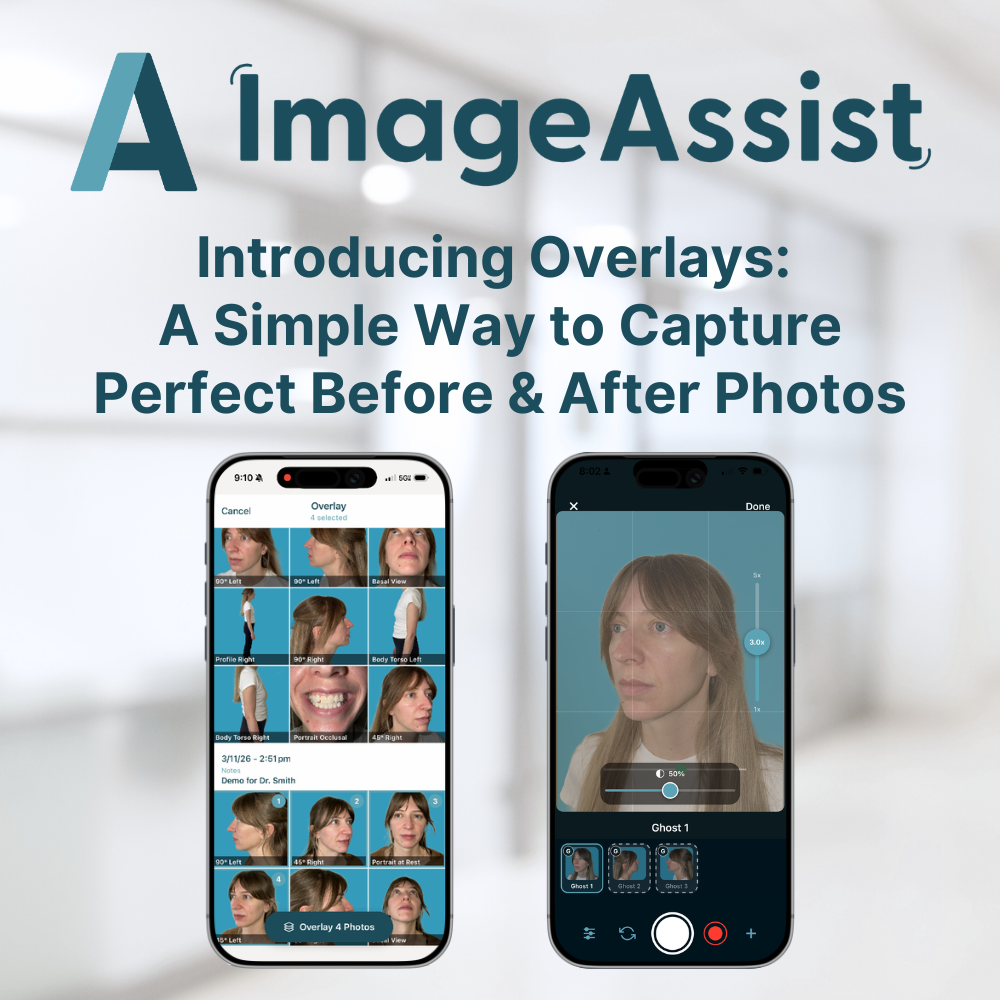
Introducing Overlays: A Simple Way to Capture Perfect Before & After Photos
Mon May 04 2026
Overlays is a new ImageAssist feature that puts a semi-transparent ghost of any before photo directly in your camera viewfinder — so aligning your after shot is effortless, accurate, and consistent every single time. Here's how it works and what it means for your patient documentation.
By The ImageAssist Team
Before-and-after photography is only as powerful as it is consistent. A stunning treatment result can look underwhelming — or worse, misleading — if the after photo was taken from a slightly different angle, distance, or position than the before. For years, clinicians have relied on their eye, memory, and printed reference sheets to recreate the same shot. That changes today.
We're thrilled to introduce Overlays — a new ImageAssist feature that puts a semi-transparent ghost image of any before photo directly in your camera viewfinder, so you can line up your after shot with pinpoint accuracy before you ever press the shutter.
What are Overlays?
Overlays are a guided capture tool built into the ImageAssist workflow. It lets you select one or more before photos from a patient's gallery and overlay them — at your chosen level of transparency — onto the live camera view. Your patient, your angle, your framing: everything snaps into alignment visually before you capture the shot.
The result is before-and-after pairs that are genuinely comparable: same head position, same distance, same lighting alignment, same crop. The kind of consistency that makes a 30% improvement look like a 30% improvement — not a different photo of a different person.
How it works — step by step
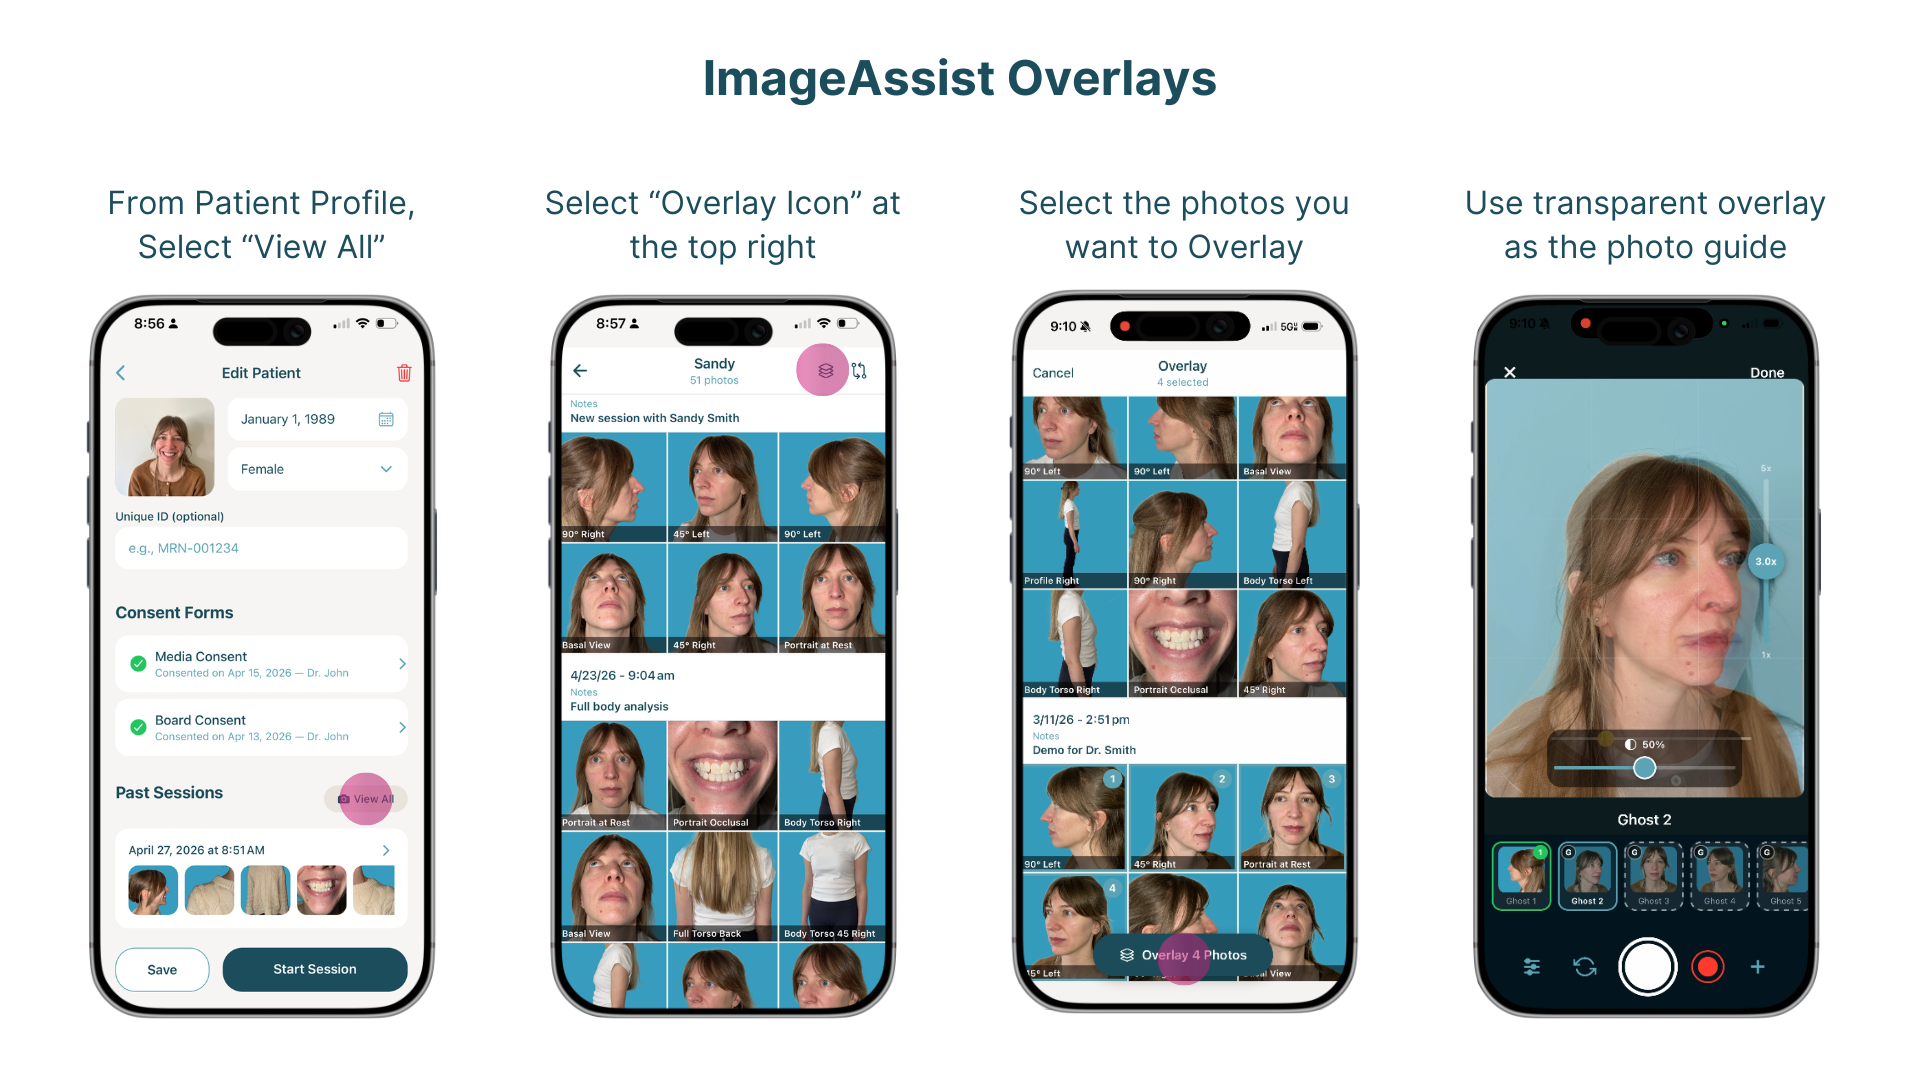
Getting started with Overlays takes seconds:
- Select the patient
Open the patient's profile in ImageAssist as you normally would. - Tap "View All"
Navigate to the patient's full photo gallery and tap the View All button to see their complete image history. - Tap the Overlay button
In the top right corner of the gallery screen, tap the Overlay button. This opens the photo selection interface. - Select your before photo (or photos)
Choose one or more photos from the patient's history to use as your overlay reference. You can select multiple photos if you want to cross-reference different sessions. - Enter the Overlays capture screen
Your selected photo(s) will appear as a semi-transparent ghost image on the live camera viewfinder. You're now in the Overlays capture area. - Adjust transparency to your preference
Use the on-screen transparency slider to dial in exactly how much of the ghost image you want to see. Some photographers prefer a light ghost for minimal distraction; others prefer a stronger overlay for precise alignment. The control is yours. - Line up and capture
Position your patient to match the ghost image — same head tilt, same distance, same framing — and take your after photo. The result is a matched pair ready for side-by-side comparison.
Why consistency is everything in clinical photography
In clinical photography, the before photo doesn't just document a starting point — it sets the visual contract for every photo that follows. When after photos don't match their before counterparts, even excellent results are harder to perceive and harder to present.
Inconsistency in patient photos creates real problems:
— Results appear less dramatic than they are, reducing the perceived value of treatment
— Patients struggle to see their own progress, affecting satisfaction and retention
— Gallery photos used in consultations lose credibility when framing varies
— Multi-session treatment tracking becomes unreliable
Overlays eliminates these problems at the source, before the photo is taken.
Use cases across specialties
Overlays is valuable across every specialty that uses ImageAssist for patient photography:
Aesthetics and medical spas: Align injectable, filler, and skin treatment results precisely across multiple sessions, showing patients their cumulative progress with confidence.
Plastic and reconstructive surgery: Document post-surgical healing at consistent angles across follow-up appointments — critical for both clinical assessment and patient communication.
Dermatology: Track skin condition changes, laser treatment progress, and lesion monitoring with matched framing that makes subtle improvements visible.
Hair restoration: Before-and-after documentation for hair transplant and PRP patients, where angle and scalp positioning are everything.
Body contouring: Ensure full-body before-and-after pairs match in stance, distance, and crop for a credible, compelling comparison.
Multiple overlays, maximum flexibility
Need to reference more than one previous session? Overlays supports selecting multiple photos simultaneously. Whether you're comparing a patient's 1-month and 3-month photos to frame the 6-month shot, or cross-referencing two different views of the same session, the feature gives you the visual context you need — right in the viewfinder.
How to start using Overlays
Overlays is available now in ImageAssist. No setup required — the feature is built directly into the existing capture workflow. Next time you open a patient's gallery, look for the Overlay button in the top right corner of the View All screen.
If you have questions about Overlays or want a walkthrough with your team, reach out to our support team or visit the ImageAssist Help Center.
Consistent photography isn't a nice-to-have. It's the foundation of patient trust, treatment credibility, and consultation conversion. Overlays makes it easy.